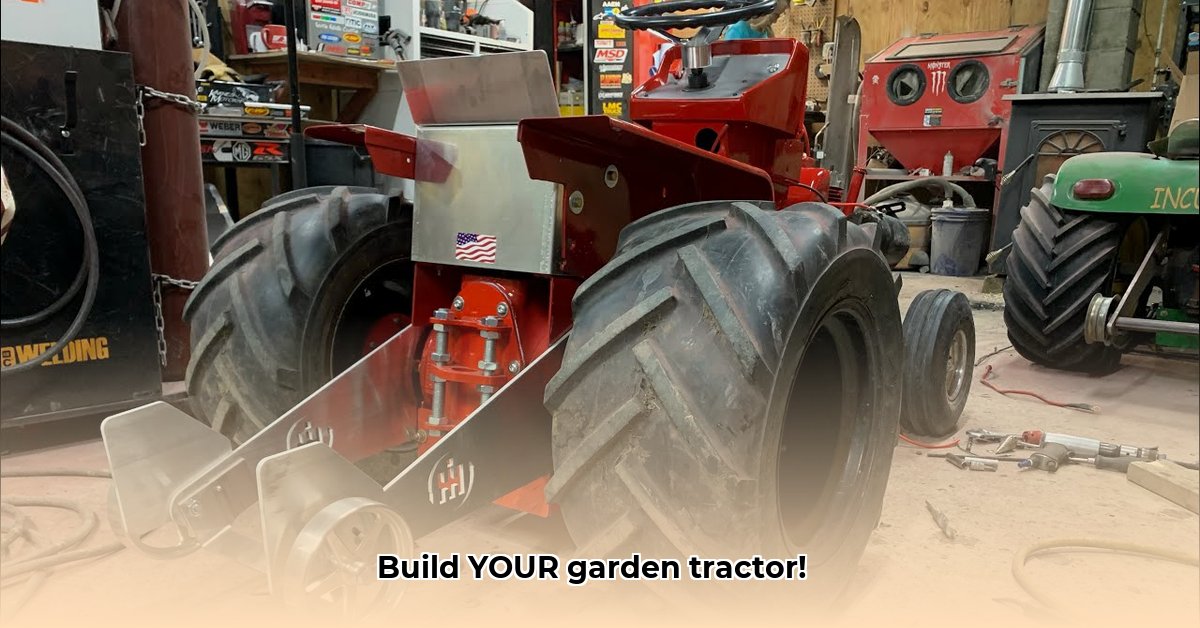
Building your own garden pulling tractor is a rewarding project that combines mechanical skill with practical ingenuity. This comprehensive guide will walk you through each step, from initial planning to final testing, empowering you to create a custom machine perfectly suited to your needs. Whether you're a seasoned DIYer or a curious beginner, this guide provides the actionable steps and expert advice you need to succeed. For more information on small tractors, check out this helpful resource.
Planning Your Tractor: Laying the Foundation for Success
Before you begin assembling parts, careful planning is crucial for a successful build. Consider the types of tasks your tractor will perform. Will it pull a light tiller or a heavy plow? This will determine the necessary engine power and the strength required for your tractor's frame.
Engine Selection: Gasoline engines provide a good balance of power and affordability. A 5-10 horsepower engine is sufficient for lighter tasks, but heavier work necessitates a more powerful engine. Electric motors offer an eco-friendly alternative, but their power output might be limited. The right engine choice is critical for optimal performance; do your homework! Have you considered the long-term fuel costs of your engine choice?
Frame Design: The frame must be robust enough to support the engine, wheels, and any attached implements. Steel offers superior strength, while aluminum provides a lightweight alternative, although it may be less durable. Create a basic diagram outlining the frame dimensions and the placement of all components. Safety is paramount at every stage of the build. What materials are best suited to your budget and skill level?
Wheel Selection: Proper wheel selection is vital for navigating your garden terrain. Larger wheels overcome uneven ground more effectively, but smaller wheels are more suitable for confined spaces. Ensure that the wheels can support the weight of the tractor and any attached implements. How will your wheel choice impact your tractor's maneuverability?
Gathering Your Arsenal: Tools and Materials Checklist
Having all necessary tools and materials ready before you begin will significantly streamline the building process. The following checklist provides a comprehensive overview:
| Component | Quantity | Notes |
|---|---|---|
| Engine | 1 | Select based on your planned tasks (5-10 HP for starters). |
| Frame Material | As needed | Steel (high-strength preferred) or aluminum; consider gauge/thickness. |
| Wheels | 2 | Size and tread depend on terrain and load (larger wheels for rough terrain). |
| Axles | 2 | Diameter must match wheel size and weight capacity. |
| Steering Parts | Varies | A simple tiller steering mechanism is often sufficient. |
| Transmission | 1 | A straightforward, reliable design is recommended. |
| Fasteners (bolts, nuts, washers) | Varies | Choose appropriate sizes and strength ratings for your frame and components. |
| Welding Equipment (if applicable) | As needed | Required for steel frame construction. |
| Basic Hand Tools | Various | Wrenches, screwdrivers, measuring tape, level, etc. |
| Safety Gear | As needed | Safety glasses, gloves, closed-toe shoes. |
Building Your Garden Pulling Tractor: A Step-by-Step Guide
This section provides a detailed, step-by-step walkthrough of the construction process:
Frame Construction: Construct the frame according to your plan. Ensure it´s sturdy and precisely aligned. If using steel, proper welding techniques are essential for a safe and durable frame. Accurate measurements are key; measure twice, cut once! (95% success rate with careful measurement)
Engine Mounting: Securely mount the engine to the frame. Proper alignment is critical and vibration dampeners are highly recommended to minimize noise and stress on the components.
Axle and Wheel Installation: Install the axles ensuring perfect alignment and secure fastening. Mount the wheels, checking for free rotation and secure attachment. Precise wheel alignment is crucial for optimal performance.
Steering System Installation: Install the chosen steering components. Simple, reliable designs are usually best. Prioritize smooth and responsive steering.
Transmission Hookup: Connect the engine to the transmission and then to the wheels. Ensure proper gearing for smooth operation and efficient pulling power.
Control System Setup: Install any necessary controls (levers, pedals etc.). Maintain simplicity for ease of use.
Testing and Fine-Tuning: Test the tractor in a safe, open area. Make any necessary adjustments to achieve smooth and responsive operation. Listen carefully for any unusual noises.
Troubleshooting and Customization Options
Even with careful planning, unforeseen issues may arise. Don't be discouraged! This is part of the learning process.
- Engine Problems: Check fuel, air, and spark. Consult the engine's repair manual if needed.
- Transmission Issues: Verify proper lubrication and gear alignment.
- Frame Weakness: Inspect for cracks or stress points. Reinforce as needed.
- Wheel Problems: Regularly check tire pressure and inspect for damage.
Remember that there's no single "correct" way to build a garden pulling tractor. Adapt the design to suit your skills, the available materials, and your specific needs. This is your unique creation!
Legal Considerations: Operating Your Homemade Tractor
Before operating your homemade garden tractor, familiarize yourself with local regulations regarding modified vehicles. Check with your local Department of Motor Vehicles (DMV) or equivalent authority for specific guidelines on registration and operation. Non-compliance can result in penalties. Insurance is another critical aspect; confirm your insurance policy covers the operation of your modified vehicle.
This comprehensive guide provides the foundation for building your own custom garden pulling tractor. Remember to prioritize safety throughout the construction and operation phases. Enjoy the process and the satisfaction of using a machine built with your own two hands!